Explore the Gidora workspace, boot it from removable media, and decide when you are ready to install. This edition documents Desktop Surface Alpha, build 20261110.2, for x86-64 PCs.
Desktop • Surface Alpha • AMD64
READING GUIDE02 / 40
Contents
From your first look to your first session.
02
Start with the product family and the desktop workspace. The Live and Install chapters walk through the media and setup. Software and Reference cover applications, packages, hardware, and release resources.
Gidora Desktop is the product covered by this catalog and has a downloadable alpha. Gidora Server and Gidora Mobile are separate products in development. Follow each product page for its own documentation and release status.
The Server product has a dedicated place in the product menu and download center. Server-specific installation, supported architectures, and release files will be documented when there is a testable public build.
The early mobile experiment runs a Debian ARM64 environment in Termux/PRoot on a Samsung SM-T295. Its initial graphical work includes a touch launcher, Calculator, and Notes. Device support and installation guidance will accompany a testable release.
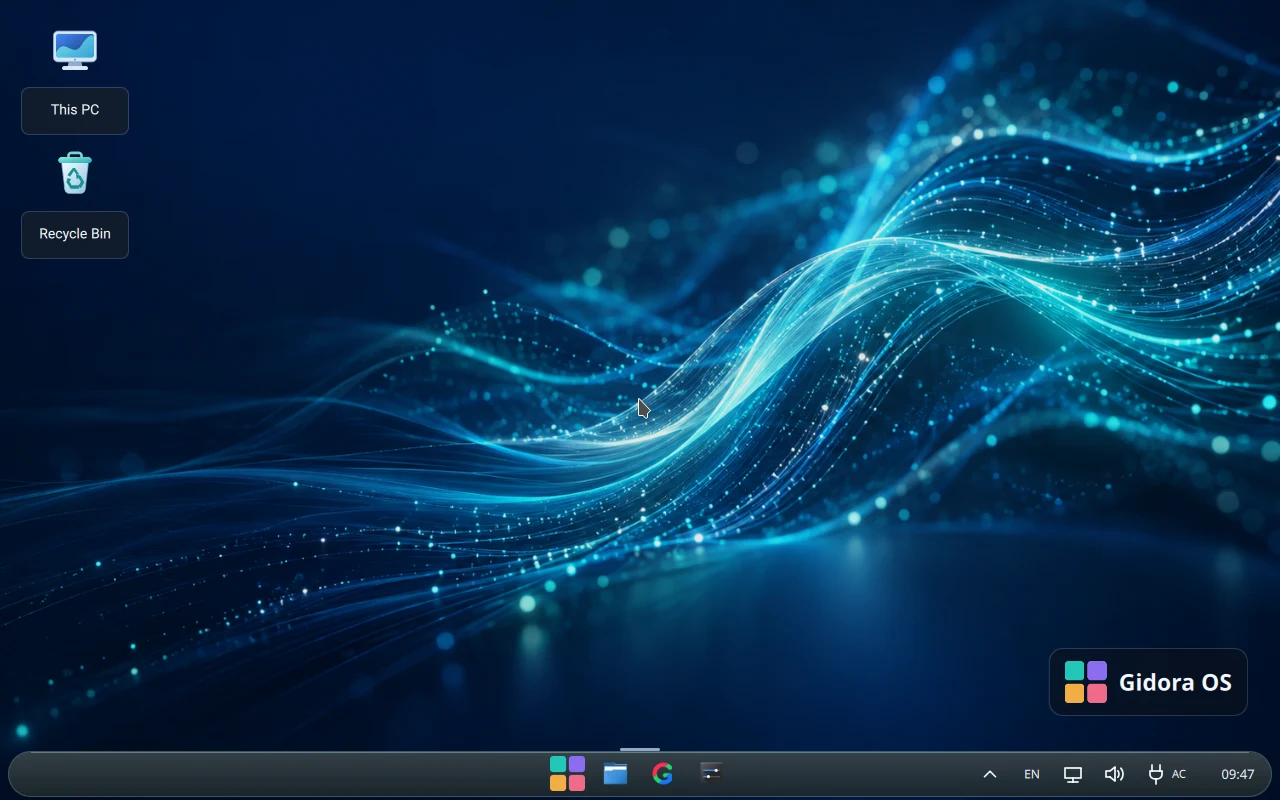
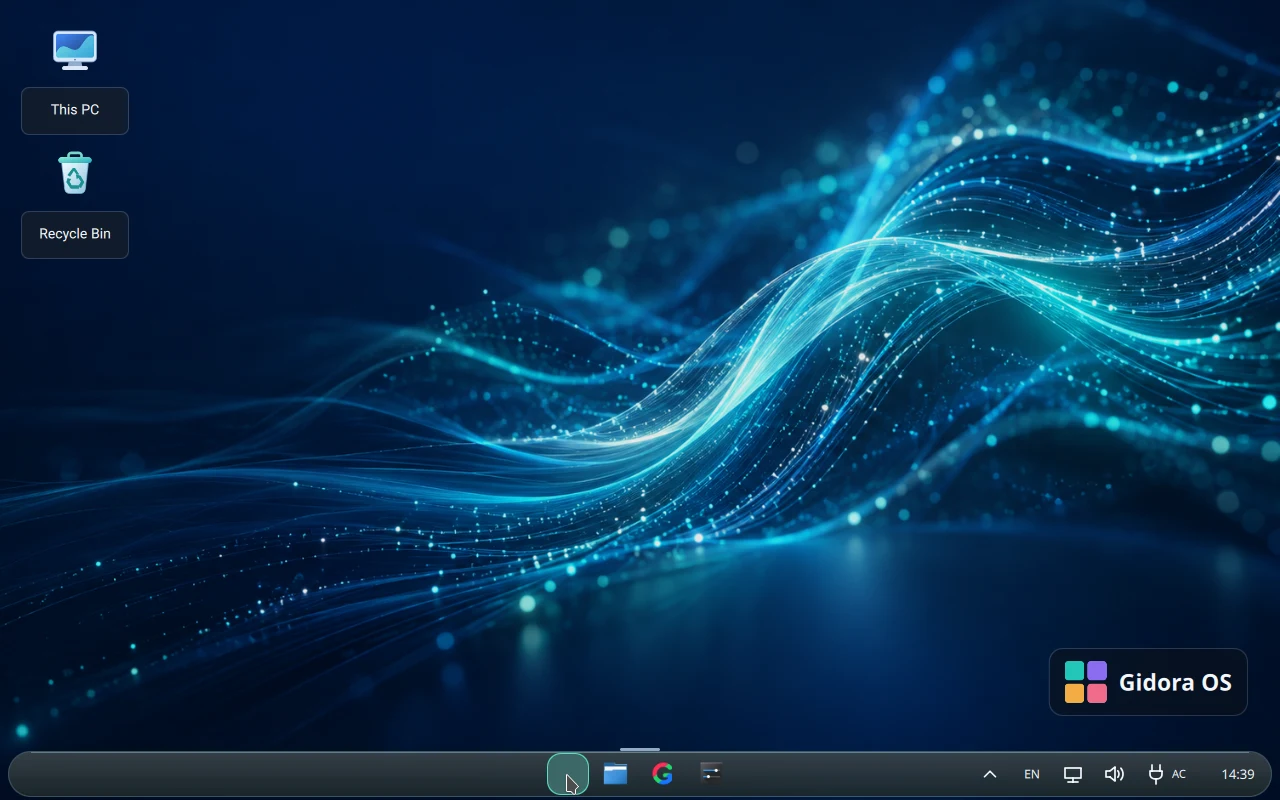
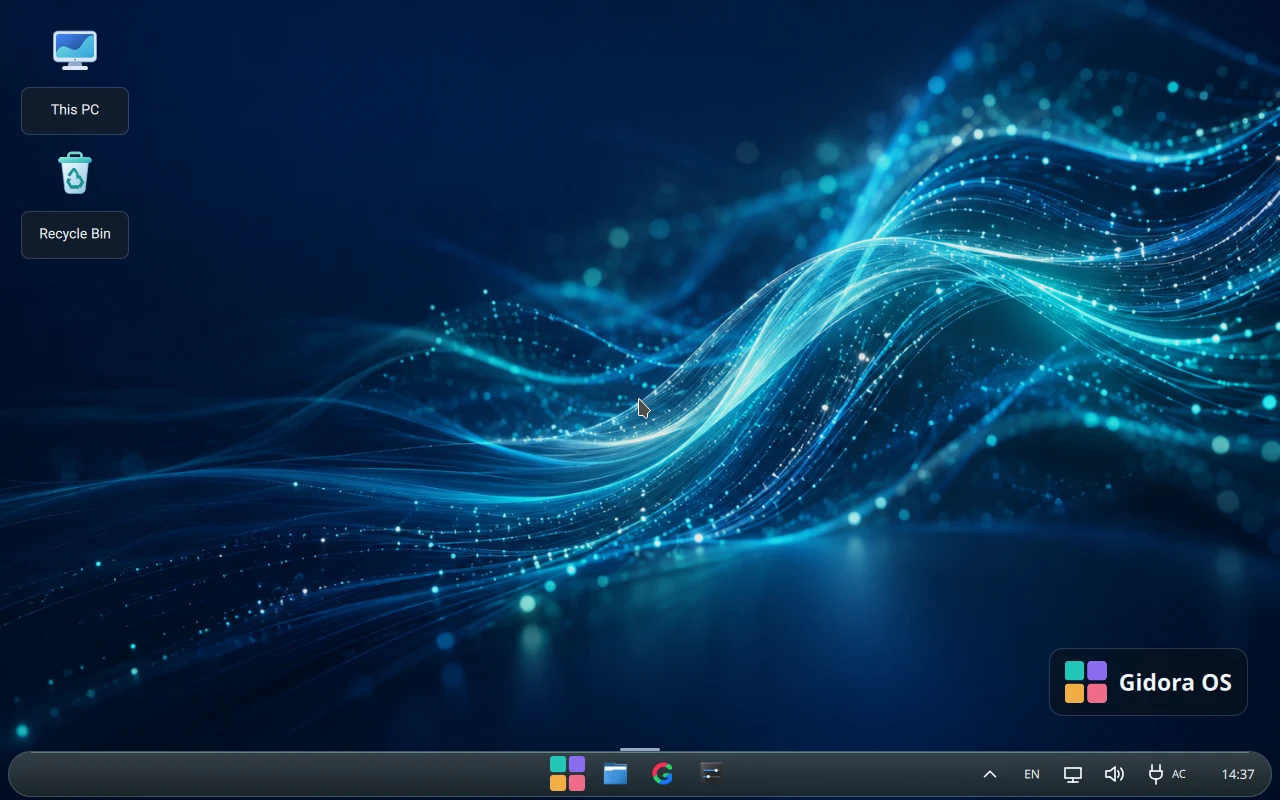
The native Wayland session brings together the taskbar, launcher, notifications, Settings, Files, and Gidarium. On your first visit, open the launcher and try moving between a file window and the browser.
Open the four-color Gidora mark on the taskbar and type part of an application name. Select a result to open it. Search the Store by package name or purpose if the application is absent from your current installation.
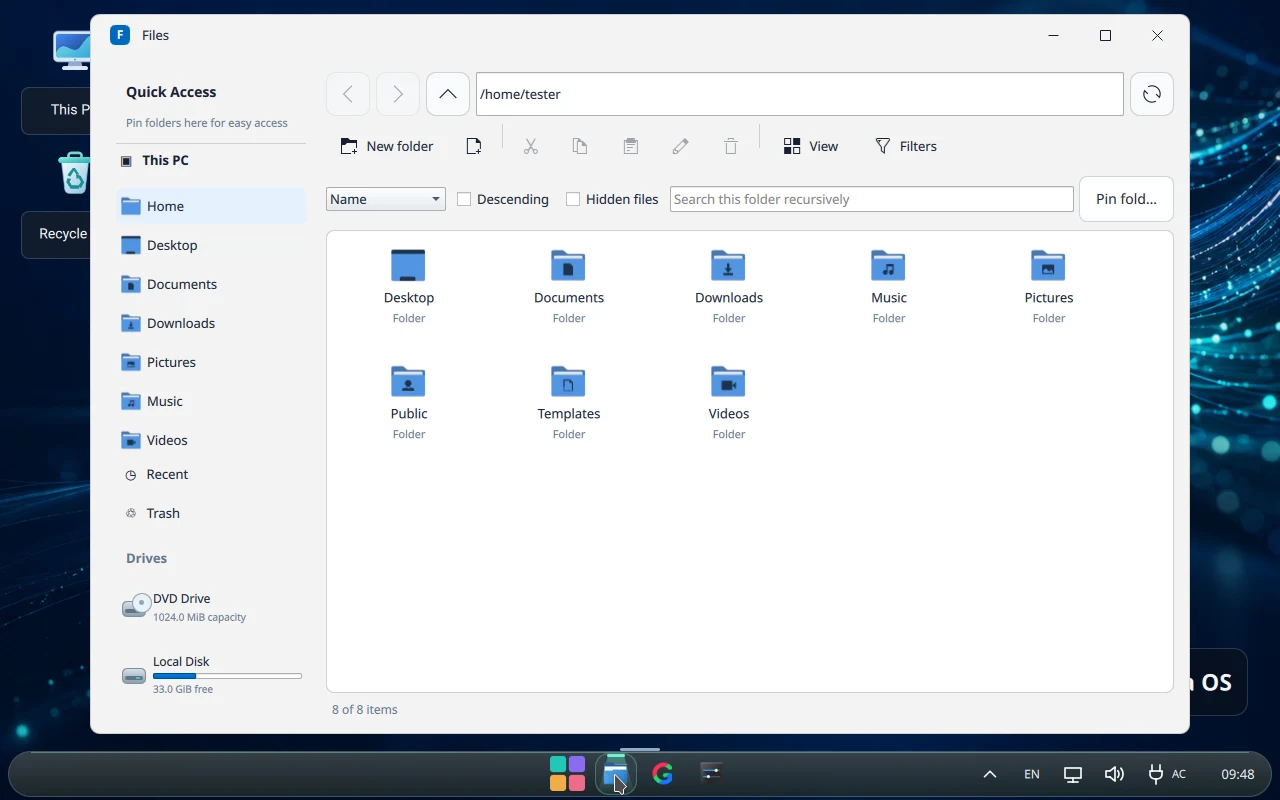
Files provides access to folders, mounted volumes, and Trash. Try copying a disposable file, renaming the copy, sending it to Trash, and restoring it. Confirm the original stays where you saved it.
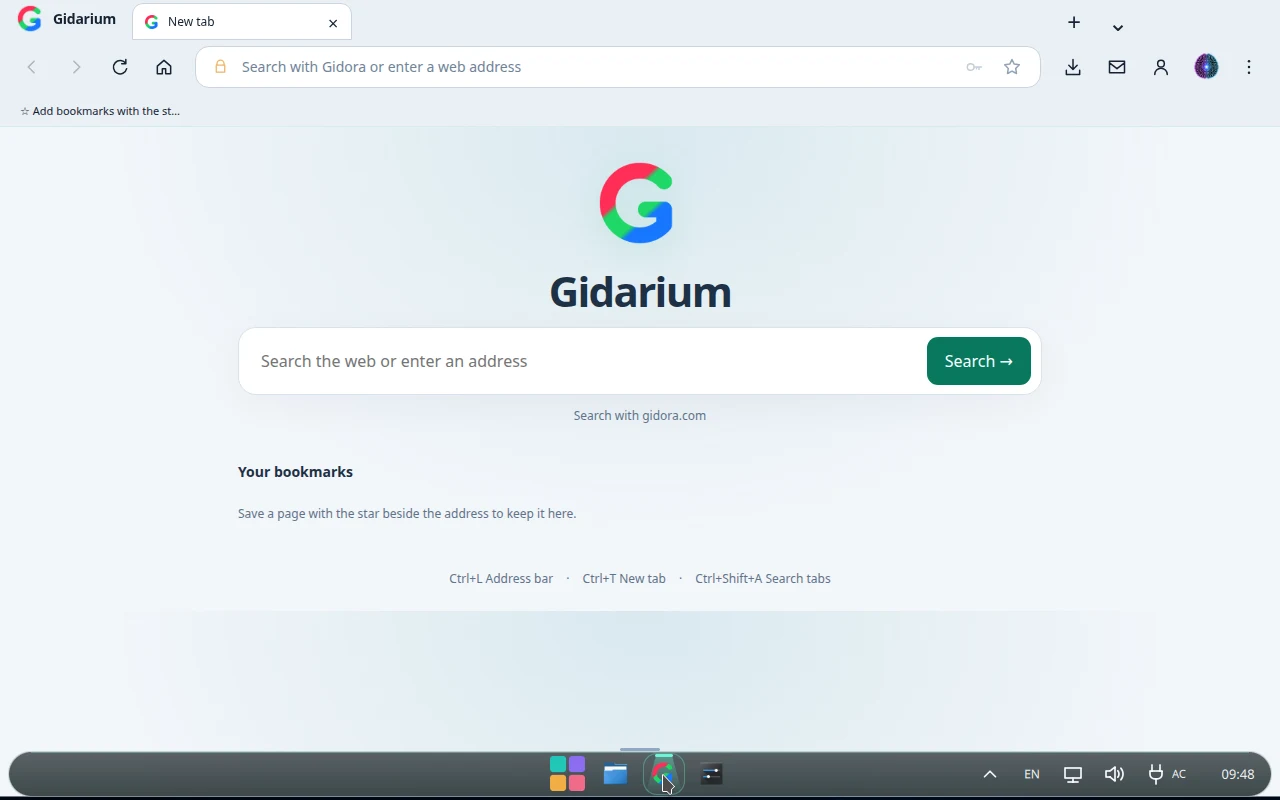
Open Gidarium and enter a known website in the address bar. Use Ctrl+L to return to the address bar and Ctrl+T to open a new tab. If multiple sites fail to load, check the network connection.
Adjust the desktop to your hardware and preferences.
10
Open Settings from the launcher. Start with display scale, sound output, keyboard layout, and input devices. After changing the display scale, reopen a window and verify that text and controls are comfortable to read.
Use the taskbar to switch between open windows and reach network, audio, and status controls. Open the notification history when you need to revisit a message that has disappeared.
Open Gidora CMD. Run pwd to print your working directory and ls -lah to see the files in it. Use man ls for the installed manual and press q to leave it.
The Desktop ISO boots into a live session from USB or a virtual machine. Test the interface and devices first. When you are ready to install, open Install Gidora OS from inside the live session.
Attach the ISO to an x86-64 VM and give it a disposable virtual disk if you want to rehearse installation. A real USB boot is useful for checking the physical Wi-Fi, graphics, audio, and input hardware you intend to use.
The catalog covers 0.1.0 Surface Alpha, build 20261110.2. Download the AMD64 image and its SHA-256 file together. The image is about 6.16 GiB. The release page also provides the package inventory and known limitations.
Save the ISO and checksum in the same directory. Run sha256sum -c against the downloaded .iso.sha256 file. Expect OK for the matching image. If the check fails, obtain the file again before proceeding.
Select the ISO in a disk image writer, then verify the USB model and capacity before confirming. Writing the image replaces the contents of the selected USB. Wait for the write and verification to finish before removing it.
Open your PC’s boot menu and choose the USB device, or boot the VM from its virtual optical drive. With Secure Boot enabled, the Ubuntu kernel entry is the initial choice for this build. Wait for the Gidora desktop to load.
Connect to Wi-Fi, play audio, try the keyboard and pointing device, and adjust brightness. On a touch device, test touch and pen. If you need suspend or an external monitor, test those too before changing the installed system.
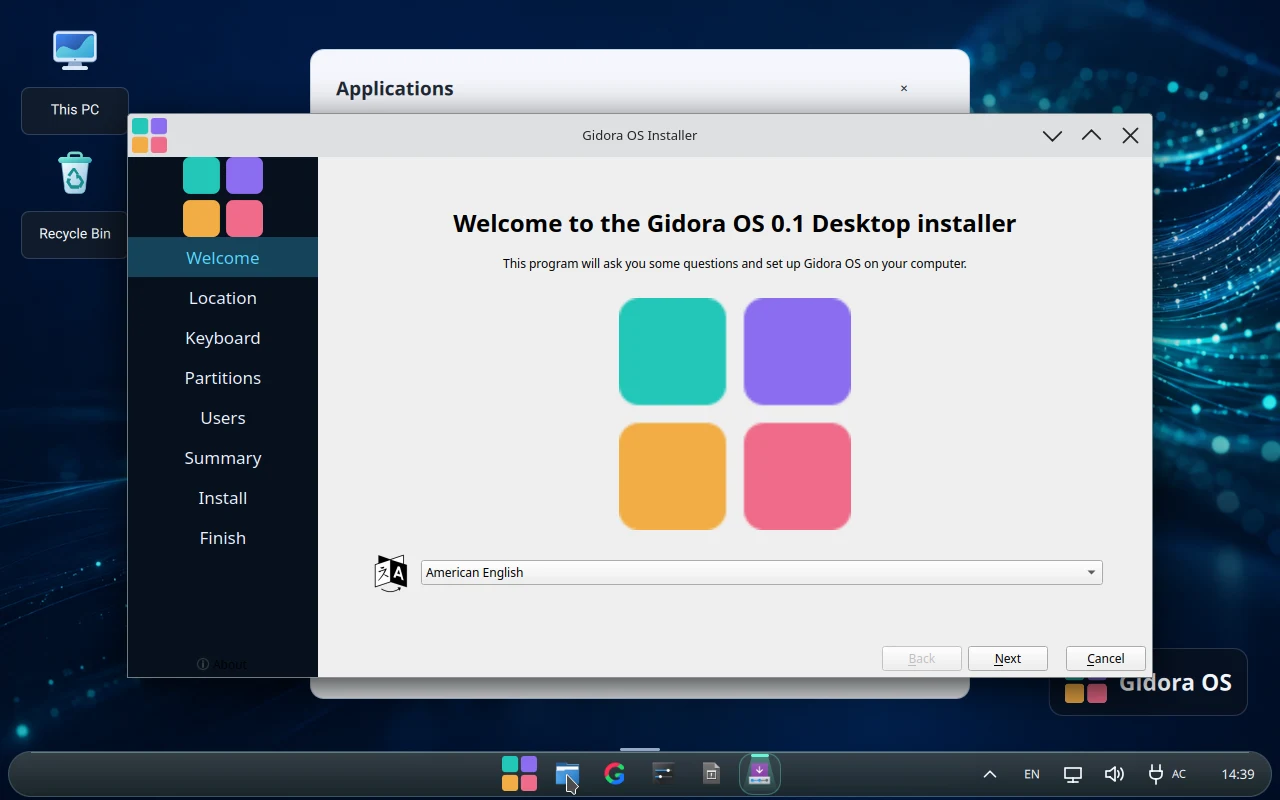
From Gidora Live, open Install Gidora OS. The Calamares welcome screen begins the guided setup. Keep a backup and your recovery keys accessible before making any changes to the target disk.
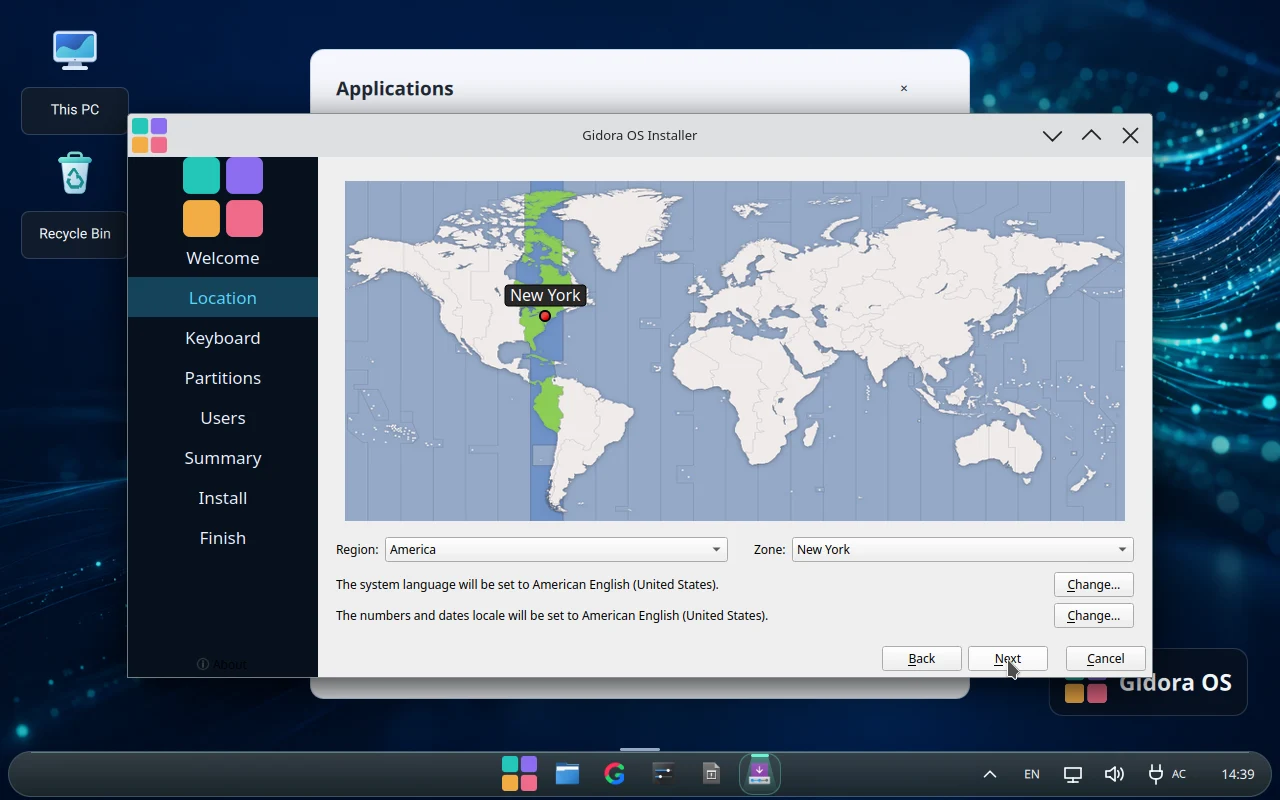
Select the installer language and your region. Check the chosen time zone before continuing. These settings help the installed system display dates and times as expected.
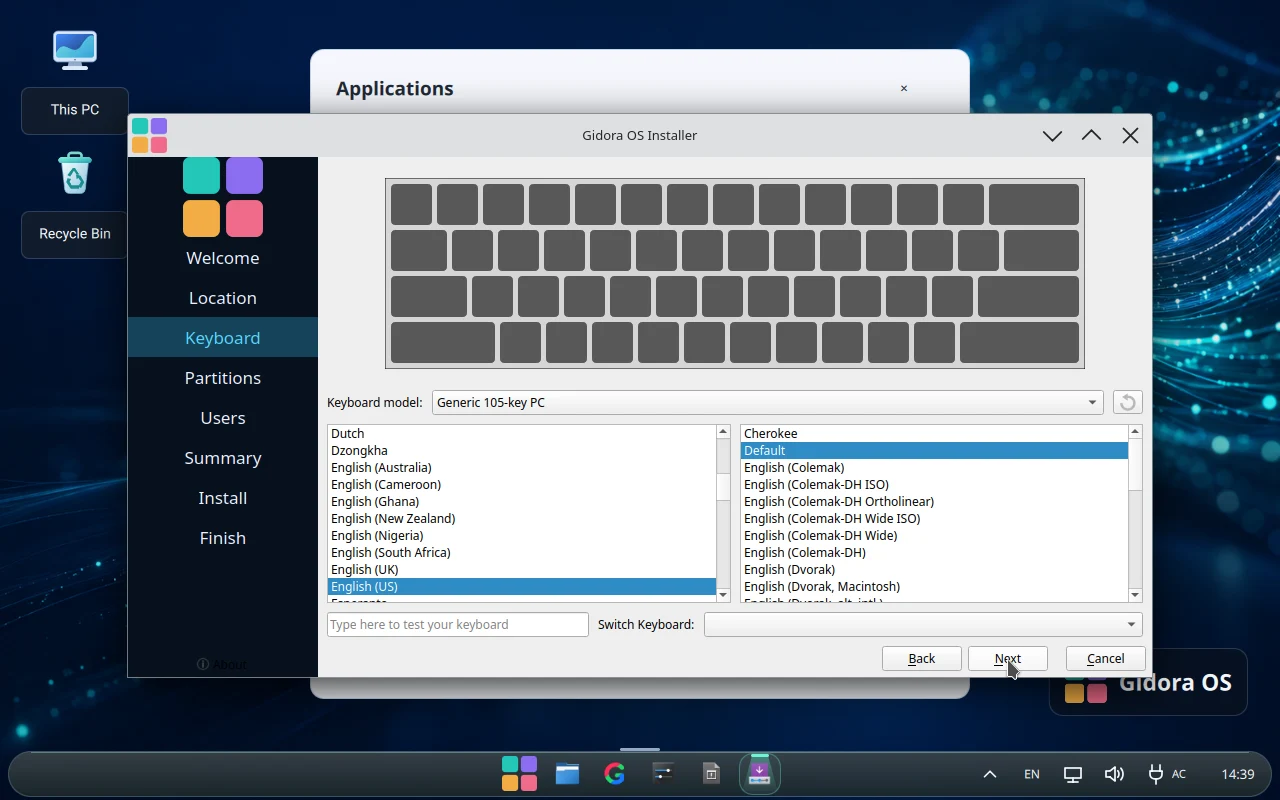
Choose your keyboard model and layout. Use the available test field for a few letters and symbols. Confirm you can type the characters you expect to use at sign-in.
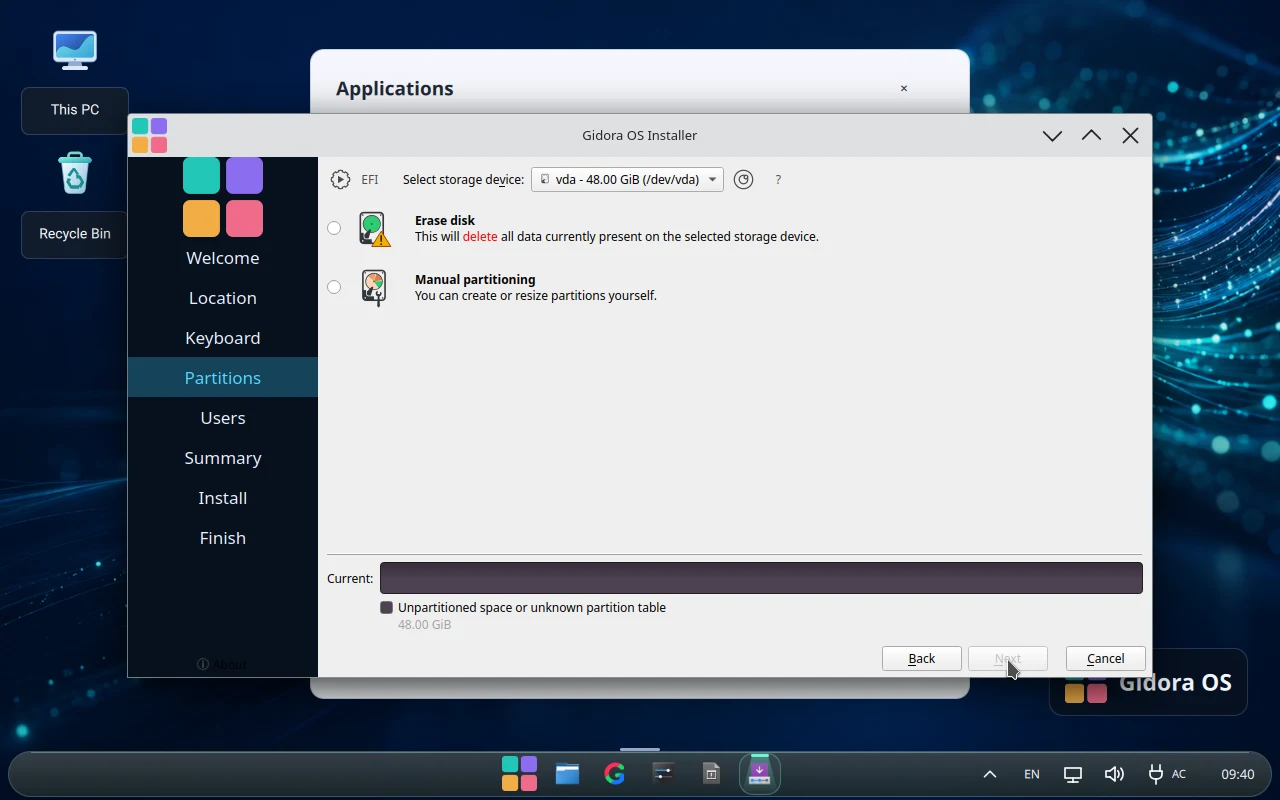
The partition screen identifies the selected disk and proposed operation. Erase disk removes the partitions and data on that disk. Use an empty virtual disk for a rehearsal, and stop if you cannot confidently identify a physical target.
Enter your display name, username, and a password you can type with the chosen keyboard layout. The installed system uses the account created here. Keep the password available for your first login.
Review the target disk, partition changes, locale, keyboard layout, and account settings. Go back to fix any mismatch. Proceed only when you recognize the destination and understand which data will be affected.
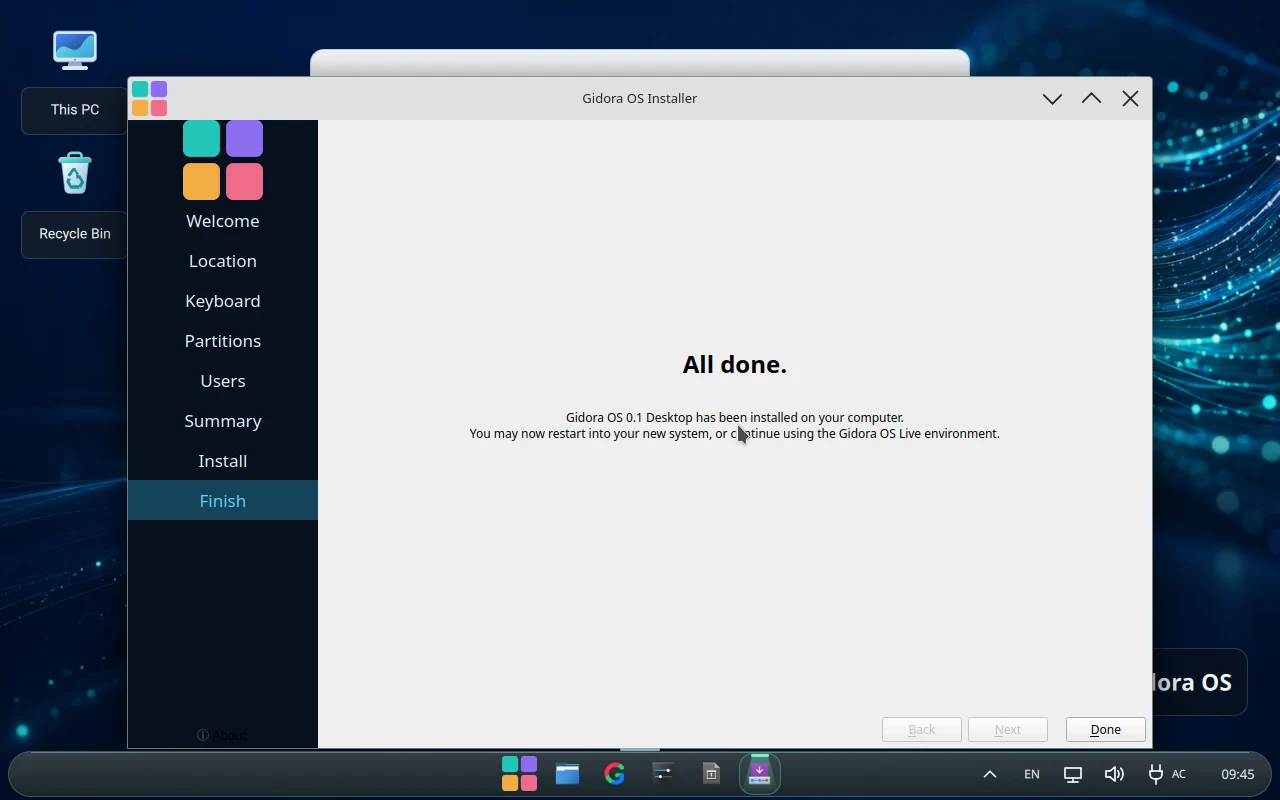
After confirmation, the installer copies and configures the system on the target disk. Wait for its completion screen. If installation reports an error, record the step and message so you can diagnose it from the live session.
Restart when the installer finishes. Remove the USB after shutdown or detach the ISO from your VM. If the live desktop returns, check the boot order and ensure the installed disk is selected.
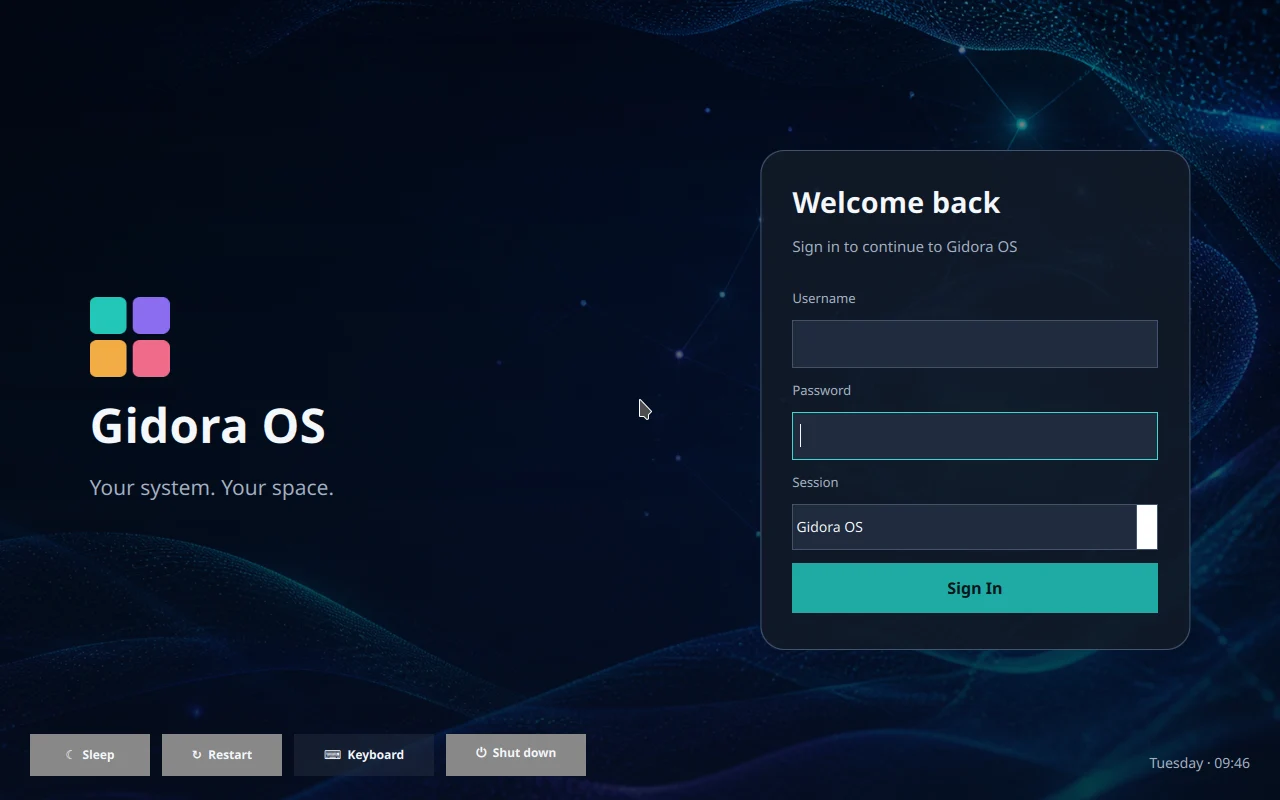
Sign in with the new account. Open Files and Gidarium, confirm the network works, and check the keyboard and audio. The alpha was tested through installed boot and application launch in a virtual machine.
Store shows graphical app packages first and also indexes system packages. Search by app name, package, or purpose. Open an entry to see the exact package identifier and whether it is in the ISO, the repository, or source only.
The ISO inventory contains 1,842 packages. The Store also indexes the signed Genesis repository snapshot. Check each package’s architecture, version, dependencies, and commands before comparing it with what is on your system.
Refresh the package lists with sudo apt update, then use apt-cache policy with the exact package name to see candidate versions. Read APT’s proposed changes before confirming an install, upgrade, or removal.
Try a short report in Writer or a small sheet with two values and a sum. Save a copy and reopen it to verify your work. Export options and format support depend on the installed editor version.
Capture a short note and find it again by its title, run a calculation, or open a PDF and search for a phrase. The app directory lists the package and launch method for these tools.
Use the media player for local playback, Capture for a screenshot, or screen recording tools for a video. Test the input source and confirm where the result is saved before recording something you need to keep.
Connect and collaborate with the appropriate tool.
35
GPN is a private-network client. LAN Messenger and Net Space serve local-network workflows, with availability recorded in the catalog. Check the relevant package and use settings supplied by the network administrator when applicable.
Compatibility Center provides Windows and Android workflows using Wine and Waydroid where supported. Start with a trusted sample application. An Android package must match the runtime architecture unless a suitable translation layer is available.
Surface Alpha offers Ubuntu, linux-surface, and Gidora kernel choices. With Secure Boot enabled, start with the Ubuntu entry. The Surface kernel requires key enrollment, and the experimental Gidora kernel in this build lacks a Secure Boot signature.
Note the build, device model, and step that failed. Check free disk space and recent boot warnings. Test a backup by restoring a file to a separate folder and opening it before attempting disk or installation repairs.
Find the command and the package that provides it.
39
Search the Linux command index by name or package. Read examples for common tools and use the installed manual where available. To check network status, start with nmcli device status, then inspect the default route with ip route.
Start with the verified Desktop image, work through the live-session checks, and follow the installer guide when you are ready. Use the Store and documentation as companions after your first sign-in.